
Add a 3D animation to an opening or ending slides for your next PowerPoint presentation. It's easy to do, and it's sure to be a crowd-pleaser.

Image: Vladimka production/Shutterstock
Microsoft PowerPoint began distributing built-in 3D animations in 2018. There are a number of stock animations that you can freely include and distribute, and I think a perfect spot is the often boring beginning and ending slides. Most of the time, the slides you display when people are entering and finding a seat or leaving your presentation are a bit flat and dull. In this article, I'll show you how to add a bit of fun to these slides by inserting 3D animations. It's easy, but a lot of users don't know these new animations are available.
SEE: 83 Excel tips every user should master (TechRepublic)
I'm using Microsoft 365 on a Windows 10 64-system. This feature is available in recent versions of Microsoft 365, 2019 stand-alones, and Windows 10 phone apps. These animated objects are also available in Word, Excel and even Outlook. For your convenience, you can download the demonstration .pptx file. This feature isn't supported in the menu version.
What are they?
Microsoft refers to these animations as models, but I think 3D animation is just as meaningful and less confusing. It's not necessary to understand what happens out of sight. These 3D animations are a bit like morph only more fun and a lot less work. In fact, inserting a 3D animation is similar to inserting a gif. You insert the file, and it just works. Now, let's move on and insert a 3D animation into an opening slide.
SEE: Windows 10: Lists of vocal commands for speech recognition and dictation (free PDF) (TechRepublic)
How to insert a 3D animation into a PowerPoint slide
I've watched a lot of presentations, and while the opening and ending slides aren't even necessary, they do provide a hint to what's going to happen and when you're done. Most, sadly, have no sense of humor. Sometimes, that's appropriate, but 3D animations can provide a quick spark before and after your presentation.
Figure A shows a rather bland, but descriptive, slide that you might display as guests arrive to your workshop on multi-tasking. It's bland, but it does the job. Let's add a 3D animation to liven it up, just a bit.
Figure A
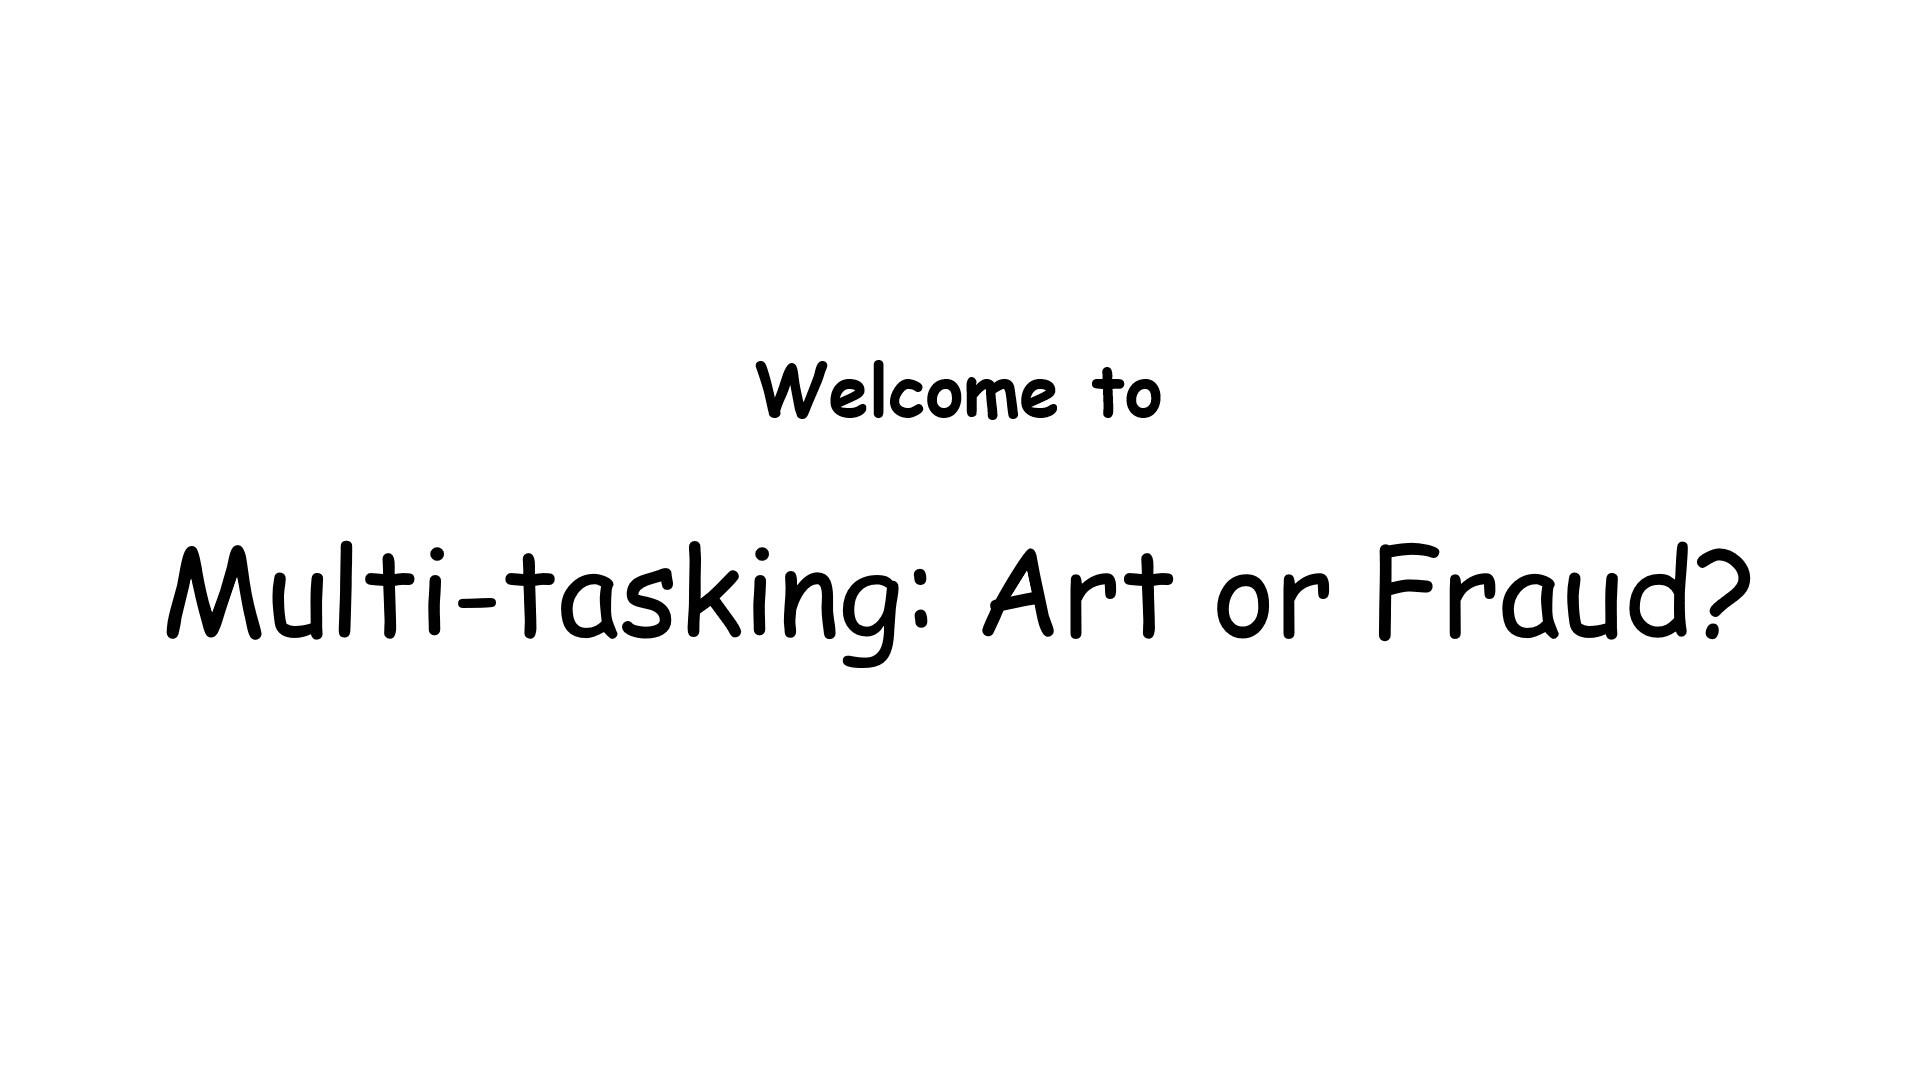
This opening slide introduces your topic, but it's boring.
To begin, you need an introductory slide. I used Comic Sans MS 66 for the title and 36 for the welcome line in the slide shown in Figure A. The text box is centered. Now, let's liven things up by inserting a 3D animation:
- Click the Insert tab.
- In the Illustrations group, click the 3D Models dropdown.
- From the dropdown, choose Stock 3D Models. Doing so opens an interface that lets you choose 3D animations by category.
- Click Animated Animals and browse down a bit until you find the juggling octopus shown in Figure B.
- Click Insert.
- Resize the 3D animation object until it's as large as it can be without extending off the slide.
- Move the text box up a bit so the animation doesn't obscure the text.
Figure B
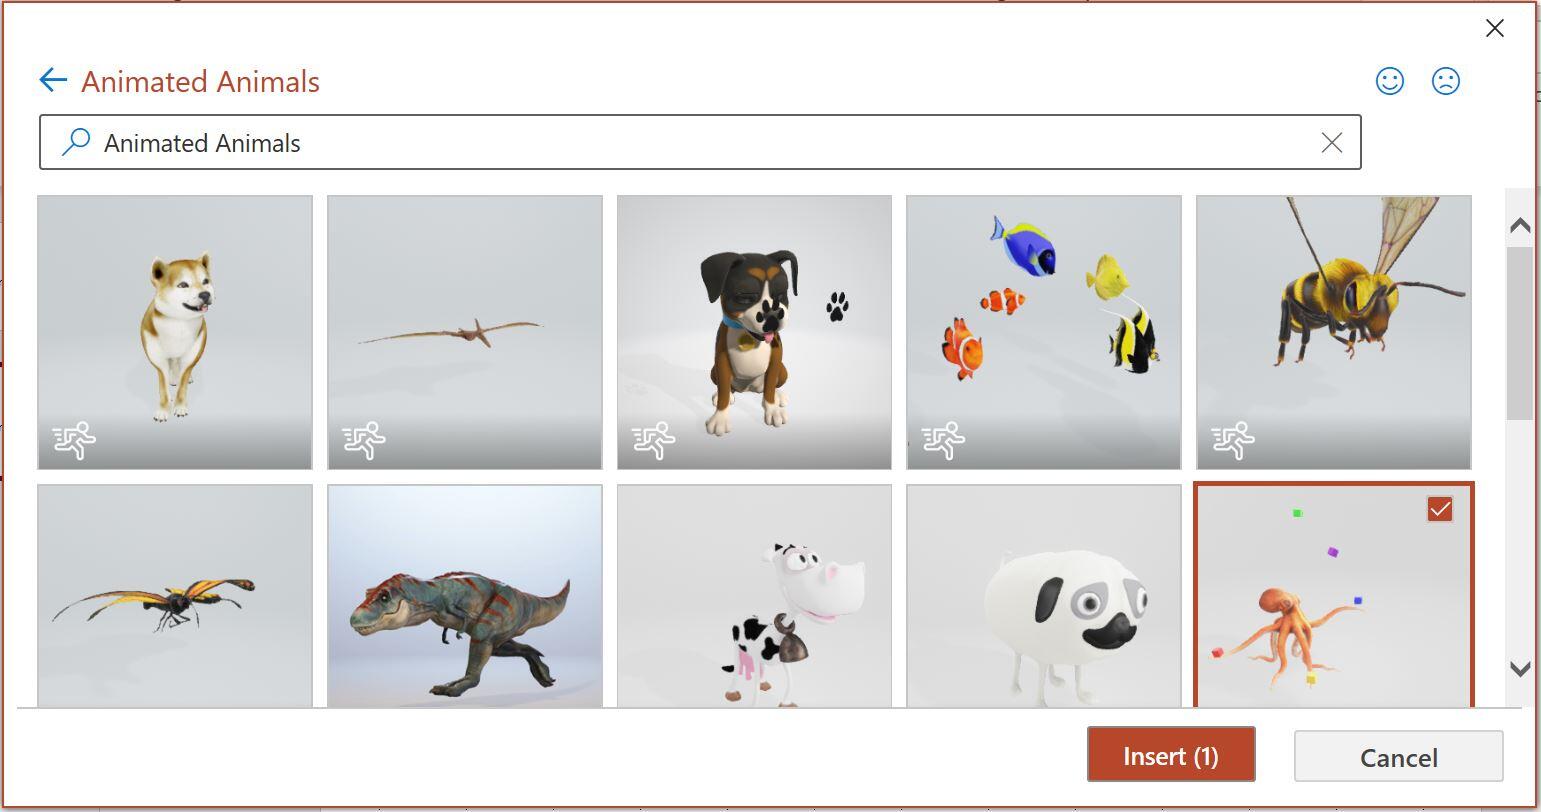
Choose an animated octopus.
Figure C shows the slide in Normal view. Although you can't see the action in the figure, if you're following along, you can see that the octopus is juggling! Now that's a fun representation of multi-tasking.
Figure C
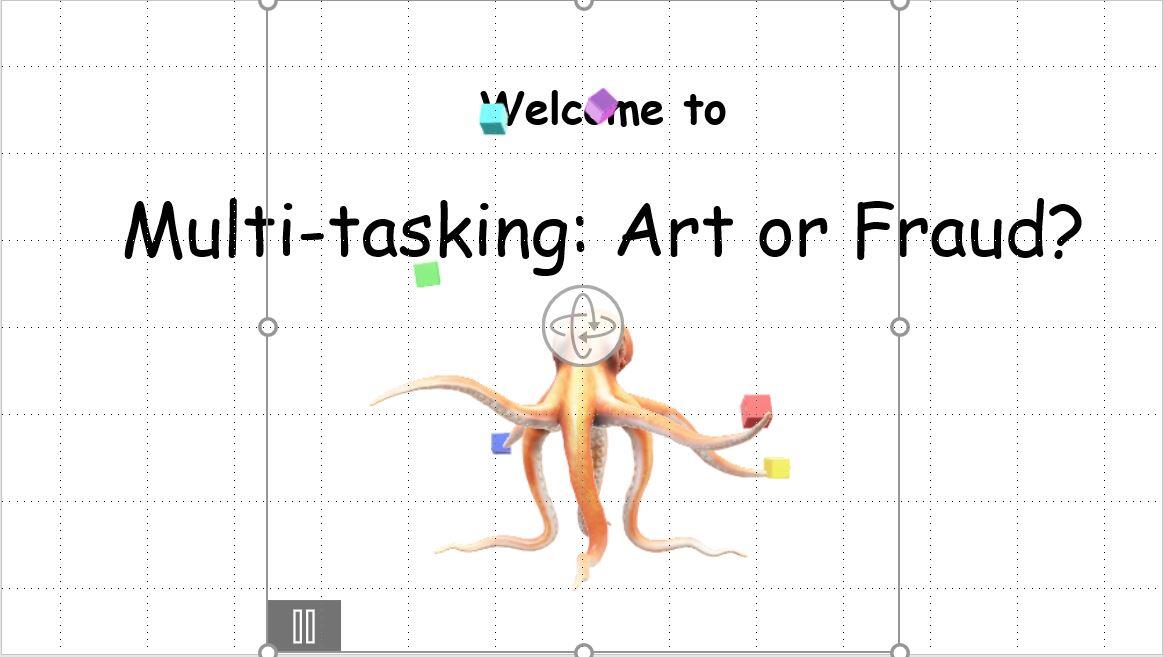
Add the 3D animation to the slide and resize and position as necessary.
Changing perspective and more
Did you notice the odd icon that looks a tiny bit like the atomic atom symbol in Figure C? This tool allows you to change the animation's perspective by rotating or tilting the view—remember, it's 3D. Figure D shows the result of dragging down and to the right just a bit. Because it's 3D, you see a completely different perspective—one from above instead of facing forward. Even the cubes change perspective with the octopus. If you don't like the changes, press Ctrl + Z to undo them.
Figure D

Change the perspective to see the different possibilities.
When the animation is selected, check out the contextual 3D Model ribbon shown in Figure E. These options offer even more ways to modify the animation to suit your needs. When you have a bit of time, explore these options further to get the most from your 3D animations.
Figure E

Use the contextual ribbon to customize the animation.
You'd expect to work much harder to achieve these effects. There's nothing difficult about adding a 3D animation, but the results can be awesome!

Microsoft Weekly Newsletter
Be your company's Microsoft insider by reading these Windows and Office tips, tricks, and cheat sheets. Delivered Mondays and Wednesdays
Sign up todayAlso see
- How to make fewer mistakes and work more efficiently using predictive text in Microsoft 365 (TechRepublic)
- How to use the many text wrapping options in Microsoft Word (TechRepublic)
- Microsoft 365: A cheat sheet (TechRepublic)
- Zoom vs. Microsoft Teams, Google Meet, Cisco WebEx and Skype: Choosing the right video-conferencing apps for you (free PDF) (TechRepublic)
- Checklist: Securing Windows 10 systems (TechRepublic Premium)
- Must-read coverage: Windows 10 (TechRepublic on Flipboard)


 English (US) ·